
So, you’ve grown your beautiful cardoon and you want to keep it going, year on year. What you need to know is how to harvest cardoon seeds!
As most plants do, seeds will be produced so the plant can reproduce, and collecting them and storing them for future use is actually pretty easy.
How To Harvest Cardoon Seeds
These plants are easy to grow and easy to keep, and they do give up their seeds easier than many other plants do – however, there are better and worse ways to do this!
If you are growing your cardoon for the purposes of eating the stems, as many people do, you would be wise to remove the flowering heads as they appear.
However, the flowering heads are where all the seeds are, so if you are looking for how to harvest cardoon seeds then definitely leave them alone!
You will need to wait until the flower heads are completely mature, which means you need to leave at least one on the plant to get the seeds.
Pick the flower head when it starts to go white and wispy, and store it in a cool, dry place until you’re ready to go in and actually get the seeds out.
It is also worth storing the head in a paper bag, because as it dries it can start to spontaneously drop its seeds.
This is a fantastic video, which shows you how to harvest and save the seeds from cardoon (and artichoke, as an added bonus!)
How Do You Get Seeds From Cardoon?
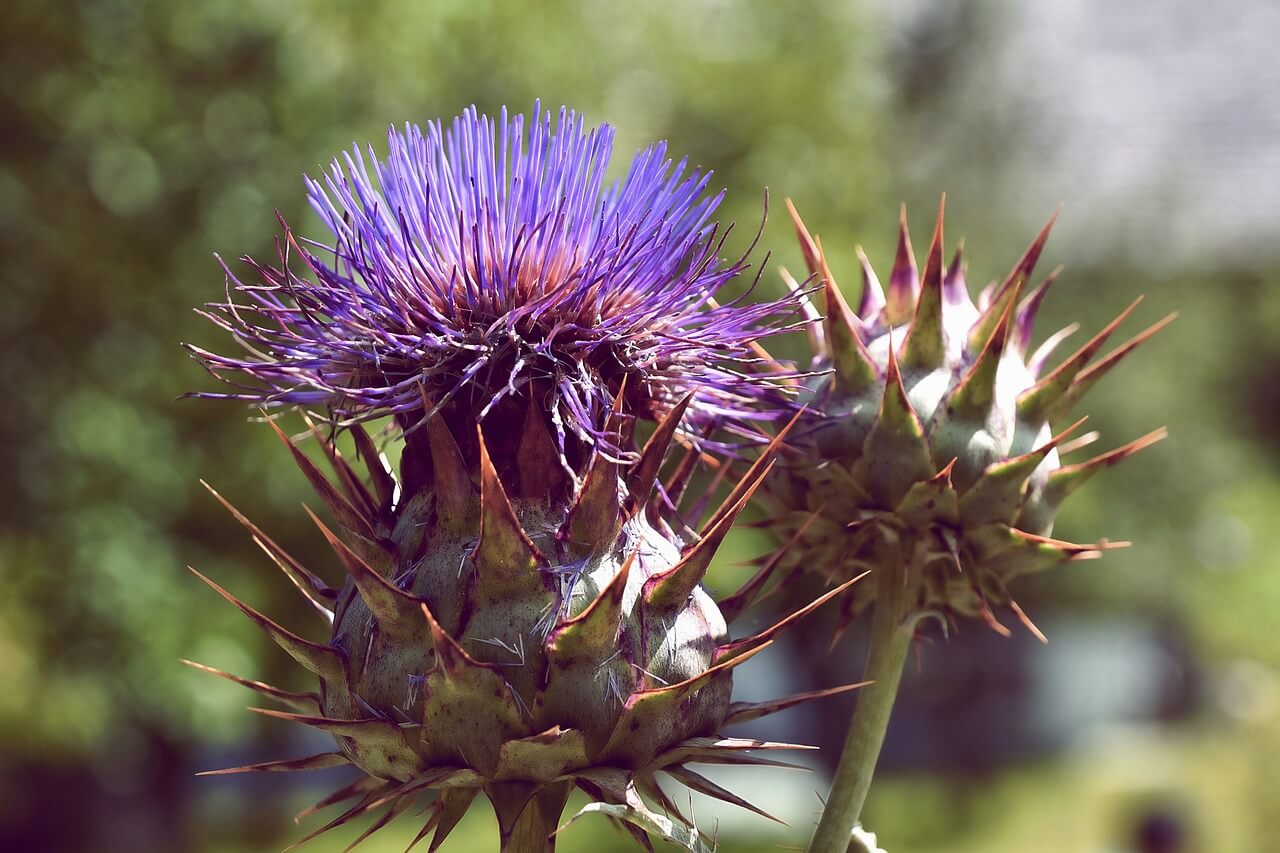
Cardoon seeds are pretty small, and if you are looking at those flowering heads in the height of summer, you would be forgiven for having no idea where the seeds actually come from!
Like a thistle, cardoon’s seeds change over time. You will actually find them within the mature flower heads.
- Keep an eye on the flowers (known as capitula, because of the way they grow into a head made up of thousands of tiny florets).
- When the ends of the capitula are turning white, feathery and wispy, it is time to remove them.
- Place these heads in a dry, well-ventilated place to allow them to finish maturing, and also to dry them slightly so it’s easier to remove the seeds.
- Wait until the capitula are dry, then – wearing gloves to protect your hands from the spines – gently rub them together.
- You will notice a fair few seeds dropping off with this method, then you will need to get a bit more hefty to remove the rest!
- Place the heads into a bag and gently beat them with a plastic or wooden mallet to remove any seeds that are stuck.
- Once you think you have finished, tip out the contents of the bag and remove large pieces of debris until just the seeds remain.
- Place the seeds into a bag marked with the species, and the date on which they were harvested, so that you know how old they are when you come to plant again.
This article tells you the best way to get the seeds out of cardoon.
How Do You Grow Cardoons From Seed UK
This striking plant is actually pretty keen to grow – as most of them are – which makes growing them from seed easier.
You can either plant cardoons in pots or outdoors – either way is fine, but do bear in mind that they don’t like to be moved or transplanted too much!
Pots
Take some small pots, fill them with good quality, well-draining potting soil, and moisten using a spray bottle.
Place one seed into each pot, push it down below the soil about a centimetre, then mist well again to keep the moisture levels high.
Place the pots in a warm, sunny place – if you want to increase the heat you can place a plastic bag over the top.
It won’t take long before your seedlings start to appear, as long as they stay moist and warm.
When they are large and hardy enough, you should transplant each plant into a larger pot, and continue keeping them warm.
In late May, they will need to planted out – select a sunny spot, with well draining soil, and make sure there is enough space for this plant – it will spread!
By October, you should consider wrapping the plant in sacking or cardboard; this makes the leaves less bitter if you want to eat them.
Cardoons will die back completely in the winter, but don’t worry – they should pop back up again in springtime!
Outdoors
You will need to choose the perfect spot for your cardoons to grow – they don’t take too kindly to being uprooted and moved.
Once you have a full sun position with plenty of space and well draining soil, rake the surface over finely to remove any rocks and clumps of soil.
Place one cardoon seed with at least 90cm of space around it, to allow it to grow and spread.
Cover the seeds lightly, and water with a gentle watering can, or a spray bottle, to avoid washing the seeds away.
You will need to keep watering the area well throughout the growing season – these plant do need to drink well.
And there you have it! This is not a difficult plant to grow from seed, and as stated it does not like to be moved, so this way is definitely better than buying plants or seedlings.
How Long Do Cardoon Seeds Last?
You may have found a seed packet stashed away in the shed from years ago, and are wondering if you can make it grow.
There’s no real way of knowing if this will work, without actually giving them a go! They may germinate, they may not.
As a general rule, plant seeds should be good for at least a year after they were harvested – any longer than this and it’s up to the plant gods!
You can increase the life of your seeds by putting them in the freezer (yes, really) as this tricks them into thinking it’s winter and they go dormant.
Again, you won’t want to do this for too long – prolonged periods of cold can kill off your seeds completely.
If you have found some old seeds and want to give it a go, you have nothing to lose – just don’t get your hopes up too high if they’re more than a year old!
Final Thoughts
Seed saving is one of the easiest and most economical ways of growing plants for years to come – and as you see, it is perfectly possible to do so with your cardoon seeds.
Once you’ve got the hang of harvesting and storing your seeds for the coming years, chances are you’ll never buy another seed again!


