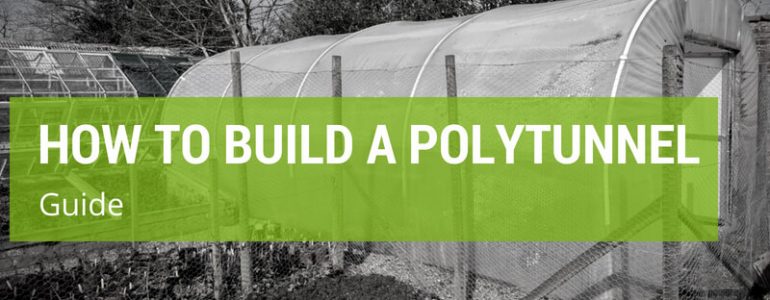
Polytunnels (aka: grow tunnels, high tunnels, polyhouse, hoophouse or hoop greenhouse) are becoming more and more popular for use on allotments for very good reason. These steel framed, polyethylene covered buildings are a durable, affordable, preferable alternative to an old-fashioned greenhouse gardening.
Passive solar energy heats the interior of the building, the soil and the plants inside, and the heat is retained far longer than in a classic greenhouse. Even in very cold weather, the temperature inside stays fairly steady.
Adding a removable layer of bubble wrap to the interior walls is a great way to retain even more heat in the winter. When needed, you can control the temperature, ventilation and humidity either manually or with automatically controlled equipment.
In this article we explain the basics of building a good polytunnel and provide videos with instructions for working with a kit or doing it yourself (DIY).
Begin by laying the foundation
The first and most important step is to lay the foundation tubes correctly. You’ll need some sturdy 6′ tubes to use for the foundation. If using a pre-fab polytunnel kit, they will be provided. Otherwise source water pipe or scaffolding pole off-cuts from your local building supply.
Begin by marking evenly spaced base positions and setting your corners at perfect right angles. Once you’ve marked the positions, use a hammer or mallet to drive the foundation tubes securely into the ground (about 3′ deep).
Set a block of wood on top of the tubes while hammering to avoid breaking them. Remember to check your installation with a level before moving on to the next step.
Construct your frame
Now it’s time to install the aluminum hoops that make up the framework of your polytunnel. These are typically in sections that need to be assembled, slid over the foundation tubing and bolted in place.
Once your hoops are in place, install a ridge pole on top, right in the center. This will provide bracing for the whole structure and support for the doorframes. Make sure everything is properly lined up and then tighten every joint completely.
Cushion the frame to protect the covering
Before you stretch the covering over your frame, be sure to apply padding to prevent tearing the cover. If you have a kit, cushioning will be provided. If you are doing it yourself, use anti-hot-spot tape or foam pipe coverings.
Apply the polyethylene covering
Clear rocks, sticks and other pointy objects away from a large spot on the ground and roll out your polyethylene covering. You’ll need to engage a helper to slide it over the frame and secure it in place. Make sure it’s tightly drawn across the frame and then anchor it at the base of the structure.
To secure it at the bottom, you can either attach it to the base rail or bury it in the ground surrounding the structure. To do this, dig a trench all around (30 cm deep) and cover the material with dirt. You may wish to secure it with bricks or rocks.
If you are working with a kit, follow the instructions to install the door(s). If you are doing it yourself, cut a “V” shape at your chosen access point.
Here is a video that demonstrates how to assemble a Premier Polytunnels kit:
How to build a polytunnel
This video illustrates steps you would take to do-it-yourself sourcing your own materials.
DIY greenhouse easy instructions
Enjoy your polytunnel!
When you use a polytunnel, you are sure to find it easier to germinate all of your crops, and especially warm-weather veggies such as cucumbers, tomatoes, peppers, chilies and aubergines. Make use of this handy, affordable addition to your garden to protect your plants against wind and cold throughout the winter, thus extending your growing season.


